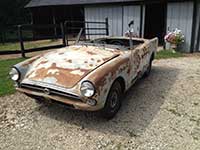
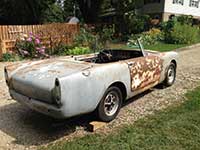
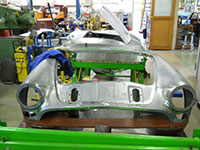
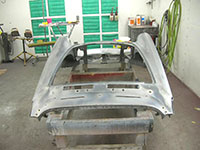
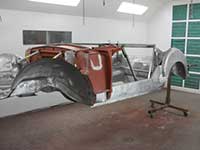
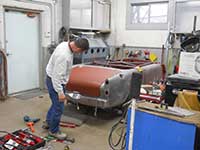
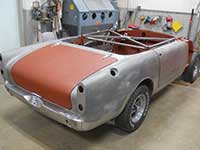
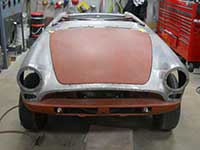
These 2 photos left and right show the beginning of the restoration of this 1965 Sunbeam Tiger.
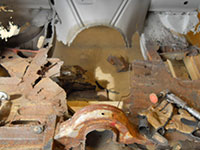
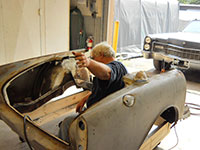
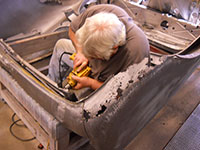
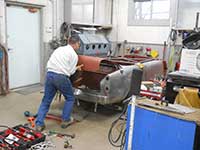
This 1965 Sunbeam Tiger came to us in extremely poor condition. This group of 6 photos shows the disassembly of the car.
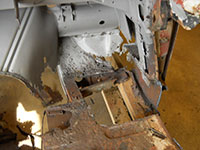
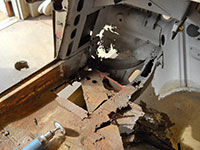
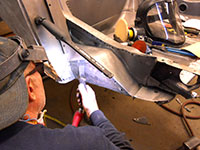
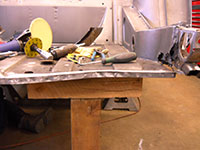
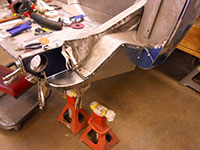
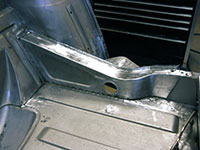
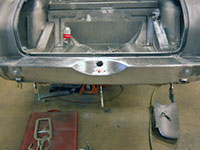
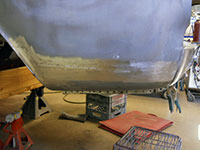
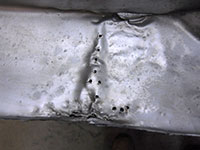
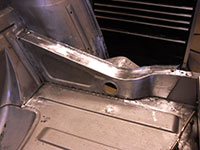
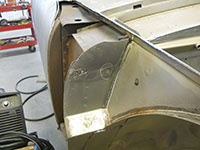
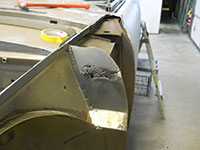
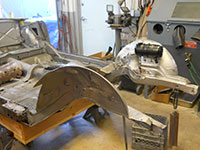
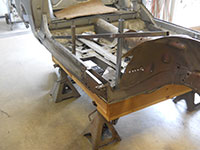
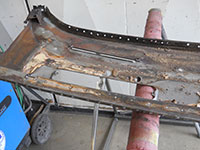
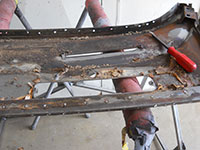
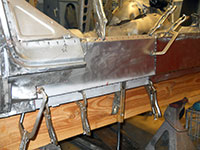
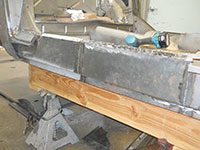
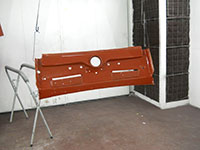
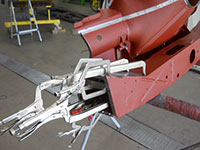
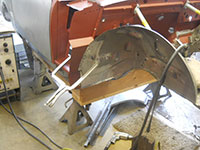
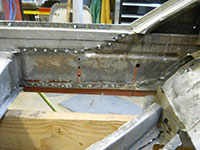
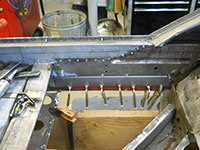
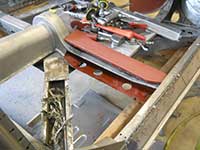
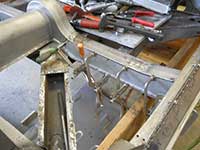
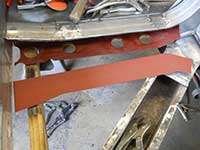
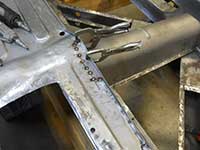
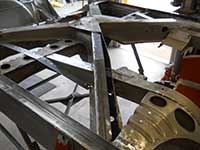
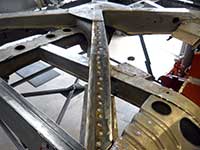
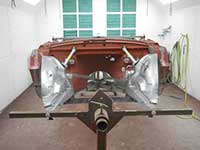
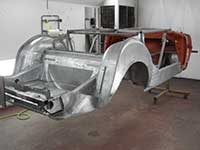
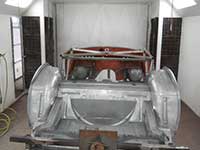
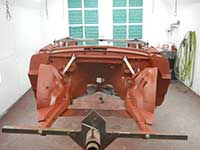
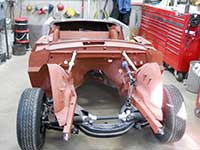
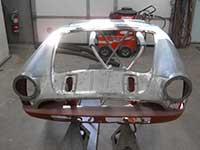
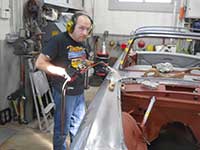
This group of 6 photos shows the repairs being done to the rear section of the chassis.
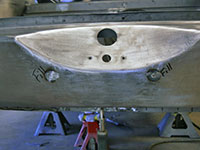
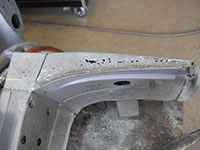
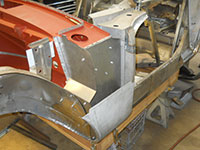
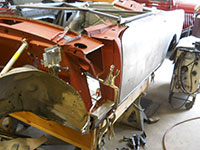
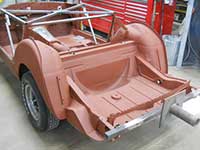
In this group of 6 photos the top left and right show repairs completed to the trunk floor, frame end and rear valance. The bottom 4 photos show how we repair rotted quarter panels and how the rear valance was damaged and repaired.
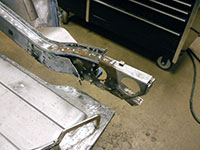
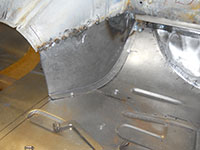
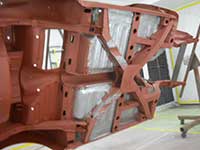
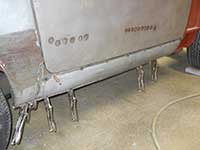
In this group the photo left shows rust damage to the right rear frame rail and the photo right shows repairs to that rail. The 4 photos below show various repairs to the rotted chassis areas.
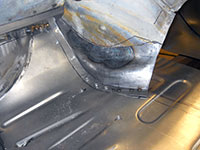
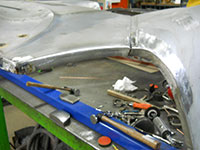
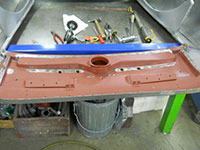
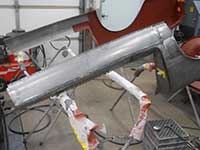
The pictures left and right show cleaning of the underside of the cowl panel. Below, the first 2 photos show repairs to the right rocker panel. The last 2 photos in the group show repairs to the driver side upper door jam and test fitting the passenger side reproduction floor pan.
The photos left and right show more details of fitting the passenger side floor pan. The bottom 4 pictures show repaired areas being primed.
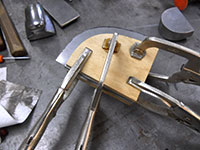
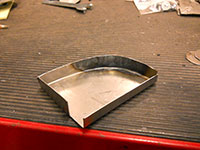
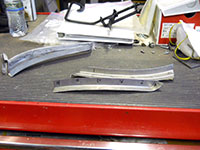
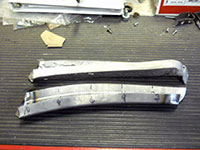
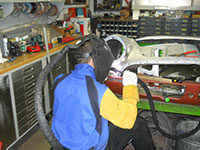
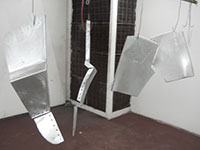
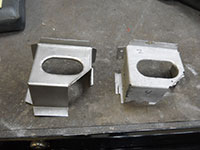
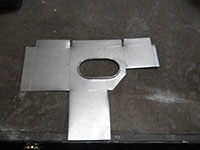
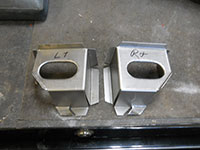
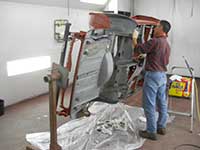
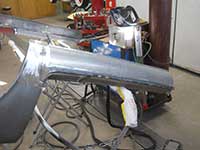
The photos left and right show custom made pieces for the upper door jams at the cowl. From left to right below is Anthony doing repairs to the headlight surrounds, repairs to the rotted areas on the upper door jam and the front body sheet metal being cleaned for priming.
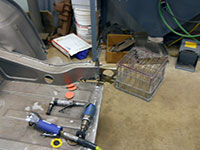
The photo left shows the custom made repair panels being readied for priming. The photo right shows repairs to the right front inner wheel well. Below left shows the underside of the cowl in primer. The last 3 photos in the group show how the chassis components are custom fabricated.
In this group the photos left and right show repairs to the passenger side inner rocker panels in preparation for receiving the new floor pans. The bottom 2 left photos show repairing the rust through damage on the chassis cross member. The next 2 photos show the repair panel for the cross member being installed and patching the rotted out area in the rear seat.
The left and right photos show the new sections of the cross member being welded in place. The 4 photos below show various views of the chassis completely repaired and ready for epoxy primer.
This group of 6 pictures show various views of the chassis being primed by Joe.
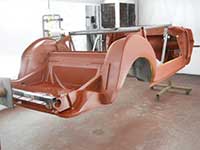
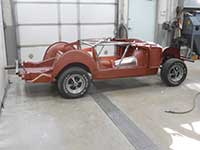
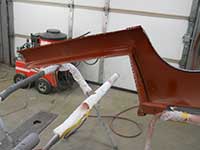
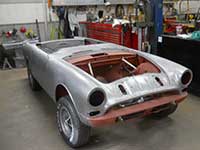
The photos left and right show the rolling chassis in primer. The four photos below show that we are starting on the final installation of the body skin.
The photos left and right show Joe giving the trunk a "chiropractic" adjustment. The four photos below show the installation of the front and rear clips.
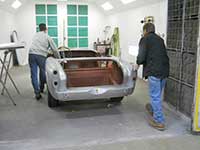
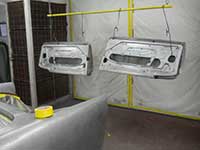
The left photo is Ralph soldering the factory body seams like they were originally done. The right photo shows the body completely done and ready for primer. The photos below from left to right show Joe and Ralph rolling the car in the booth to be primed, Joe chemically preparing the metal for primer. In the third picture the doors are also hung and ready to be primed with the body and the last picture is the body and doors in epoxy primer.
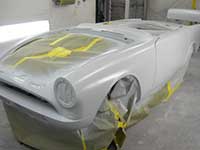
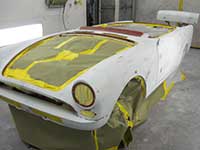
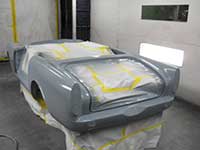
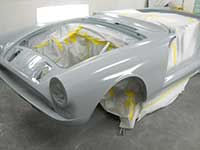
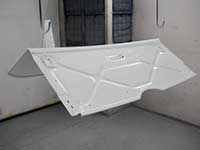
This group of six photos shows application of the surfacer and the surfacer after block sanding.
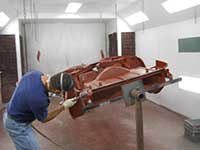
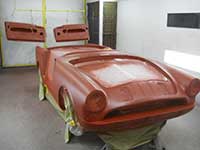
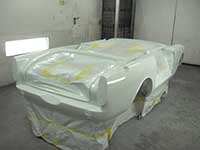
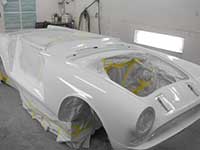
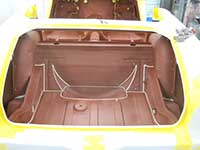
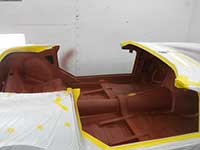
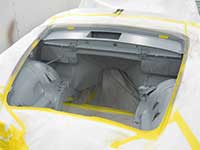
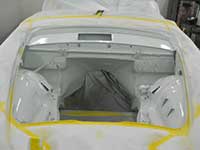
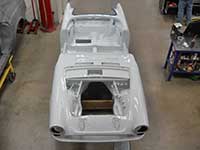
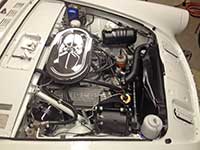
The photo left shows the application of the seam sealer before painting. The right photo shows the passenger compartment in epoxy primer. The left 2 photos below show the engine compartment prepped for painting. The right 2 photos below show the body and components being painted its final color of Moonstone white.
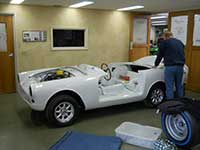
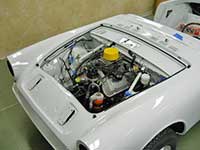
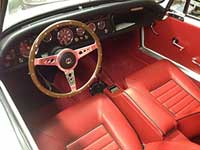
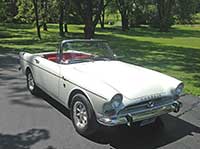
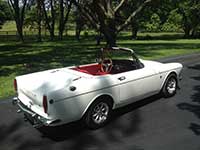
The photo on the left shows the owner installing the trunk lid. The photo on the right shows the beginning of the assembly of the engine compartment. The left 2 photos below show the completed engine compartment and the completed interior. The last 2 photos below are the Tiger finished.