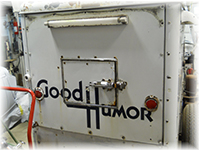
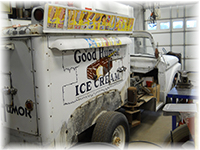
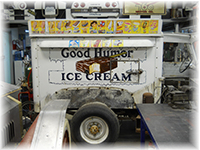
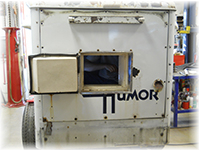
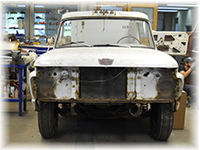
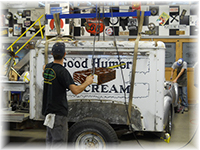
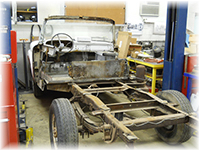
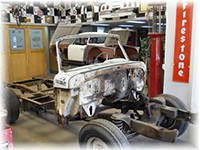
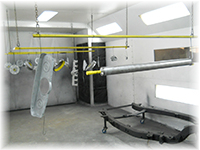
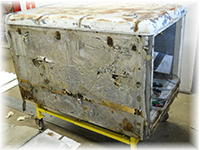
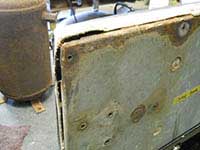
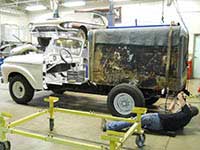
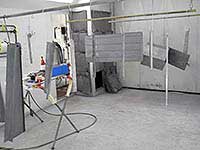
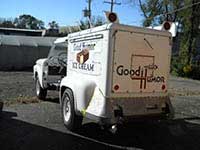
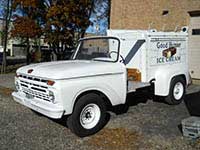
This 1966 Good Humor Truck was brought to us for a frame up restoration. Its overall rusted and broken condition was to be expected for its use as a corporate vehicle with multiple drivers. This first group of 6 photos show the condition upon arrival.
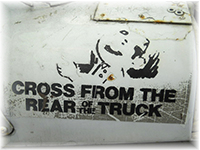
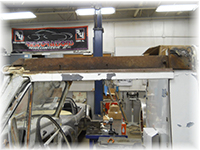
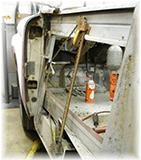
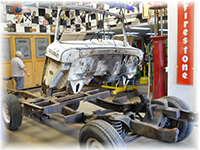
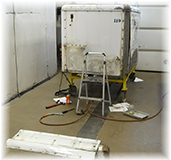
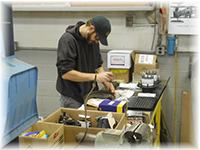
In this group of 6 photos on the left is the engine disassembly and on the right are the decals photographed for later reproduction. Below left photo shows the driver door disassembled with extensive rust. The next photo shows the primitive chain drive window regulator. The next photo is Jason removing the ice cream box from the chassis. The box is very heavy. The last photo shows the chassis with the cowl to be removed.
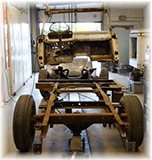
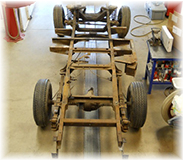
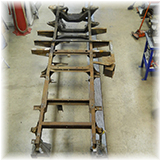
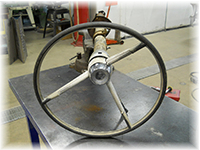
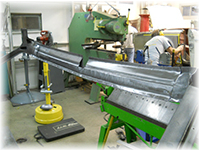
In this group of photos the first 3 show the cowl being removed from the chassis. The next 2 photos show the rolling chassis and the empty chassis awaiting blasting and painting. The last photo in the group shows the steering column removed, disassembled and restored.
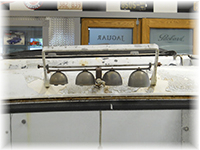
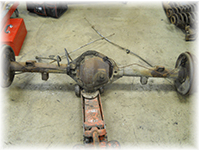
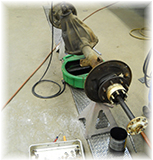
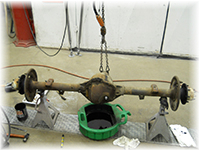
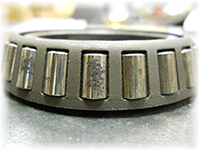
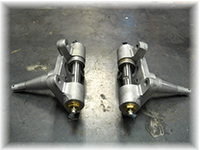
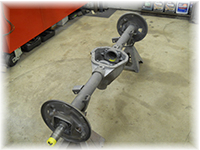
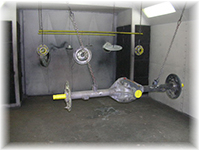
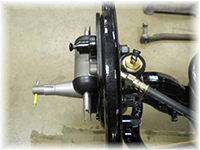
The first 3 photos in this group show the differential disassembly. The next photo shows the badly pitted axel bearings. The next photo shows the front wheel spindles rebuilt with new kingpins and bushings. The last photo in the group shows the miscellaneous parts being prepared for priming and painting.
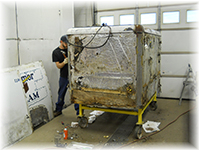
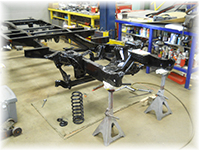
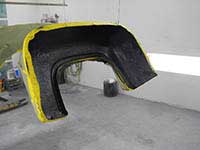
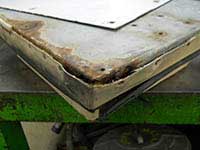
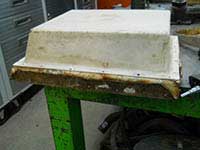
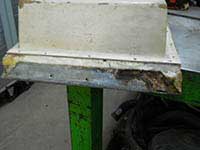
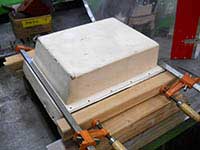
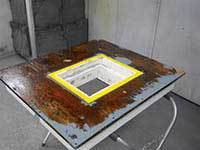
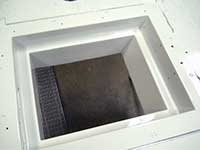
In this group of photos the top left shows the chassis painted, awaiting assembly. The photo on the right shows the disassembly of the refrigerated box. The bottom left 2 photos show Jason repairing stripped and/or broken fasteners. The last 2 photos show the roof of the freezer stripped & de-rusted and the roof in epoxy primer.
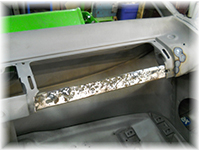
In this group of 6 photos the top left and right show the differential ready for assembly and the differential painted. The bottom 4 photos show the door jamb rot at the bottom of the driver's door, cutting out the rotted sections, starting repairs to the damaged area and new pieces to fix the damage.
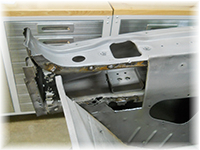
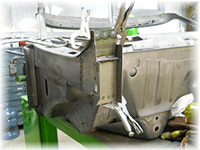
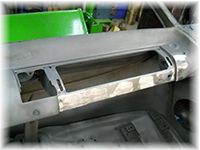
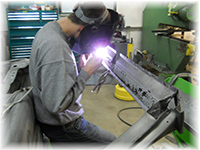
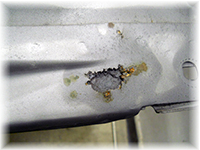
The top left photo in this group of 6 shows new pieces to fix the damaged rot area of the door jamb. The photo to the right shows the corrosion at the base of the glove box and the bottom left photo shows that corrosion fixed. The last 3 photos show damage to the metal above the windshield, Chris welding new fabricated panels and the panels finished.
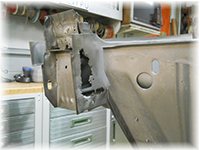
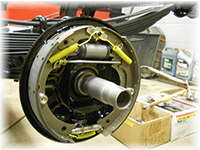
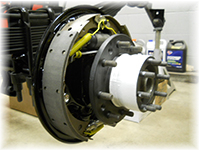
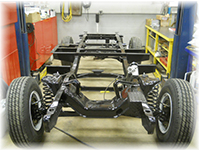
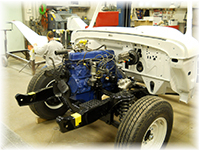
The first 3 photos in this group of 6 show the newly painted chassis being assembled, the left front axel being assembled and the new left rear brake assembly. The next 2 photos show Jason meticulously assembling the rear axel components and that completion. The last photo of the group shows the restored steering box installed.
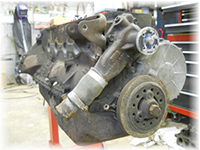
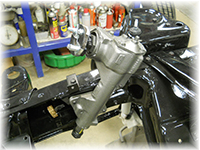
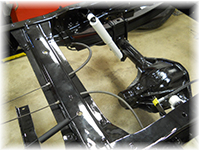
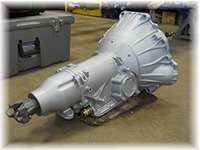
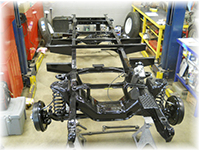
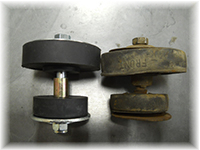
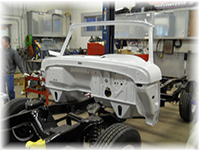
This group of 6 photos shows the differential installed, the engine assembled, the re-built transmission, the chassis with suspension installed, the new & old body mounts, and the body panels ready for priming.
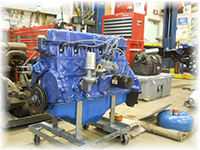
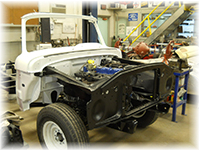
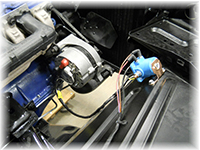
The photo on the left shows the engine & transmission mated awaiting test run-in, in our engine stand prior to installation. The photo on the right shows the inner fender corrosion.. The bottom left 2 photos show the inner fenders ready for priming and then primed, ready for paint. The next photo is the rolling chassis with tires and the last photo shows the cowl painted and installed.
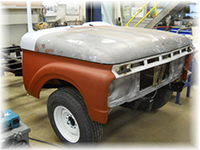
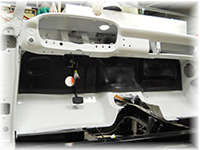
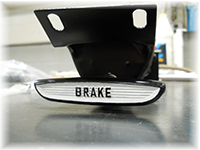
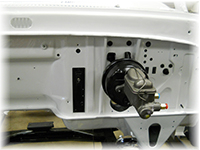
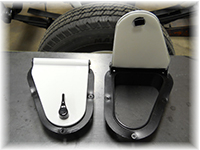
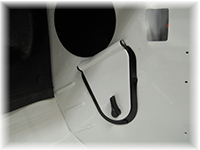
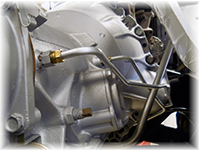
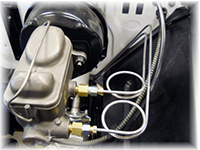
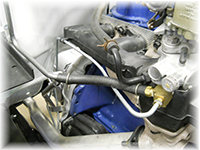
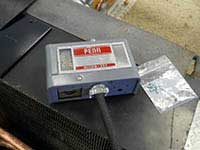
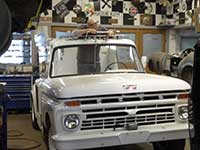
The top 2 photos in this group show the mock up of the front sheet metal to check fit and the new firewall pad installed. The bottom left shows the restored original emergency brake handle. The next photo shows the original truck had a single reservoir master cylinder for safety, we upgraded to a dual reservoir master cylinder. The last 2 photos show the cowl vent doors restored, assembled and installed.
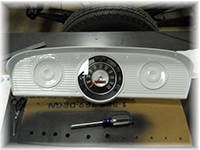
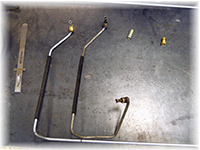
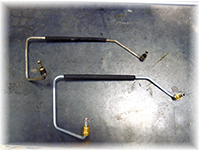
In this group of 6 photos the left photo shows the restored gauge cluster. The photo on the right shows the engine installed after passing the run-in check. The 4 photos below show the inner fender & core support installed, the transmission cooling lines installed, and the hydraulic brake lines duplicated showing start & finish.
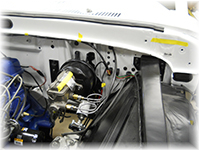
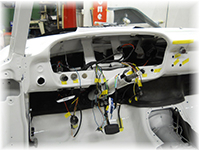
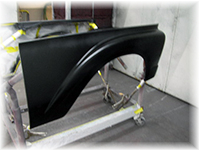
The photo on the left shows the brake lines installed and the right photo shows the engine bay components being assembled. The 2 photos bottom left show the new wire harness installed in the dash and the new wiring in the engine compartment. The next photo shows the vacuum lines made and installed. The last photo in the group shows the right front fender in epoxy primer.
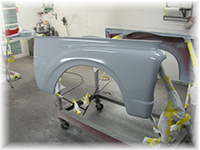
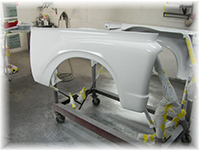
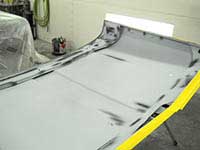
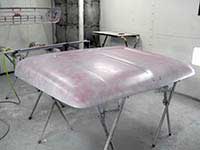
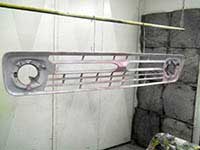
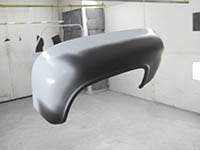
The 2 photos, left and right show the front fender in primer surfacer awaiting block sanding. The photo bottom left shows the underside of the hood, primed and sanded. The next photo shows the topside of the hood, primed and ready for block sanding. The last 2 photos are the grill components being primed and painted.
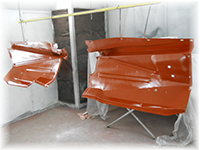
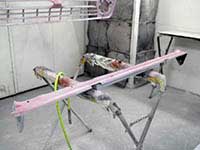
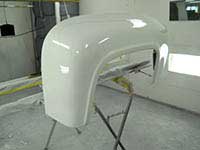
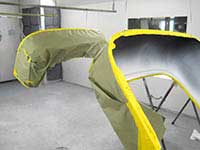
The photos left and right show the rear fenders sealed and painted. The two photos below from the left show the rear fenders being undercoated. The last two photos in the group show the body components being primed and painted.
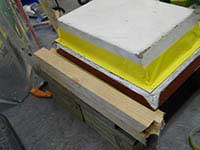
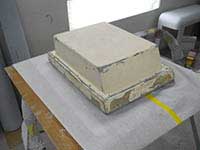
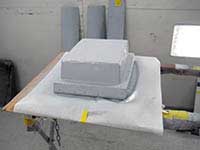
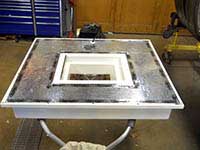
This group of six photos show the damage and repair to the freezer doors.
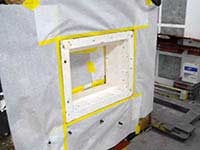
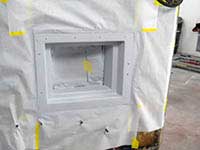
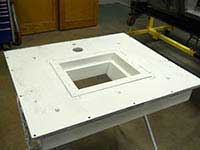
In this group the left and right photo show a freezer door being readied for painting. The bottom left two photos show the freezer door jambs being readied for painting and the last two photos below show the freezer roof and rear panel jamb being painted.
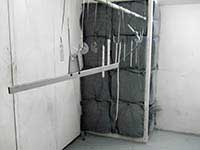
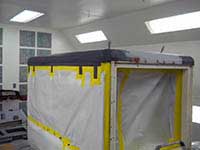
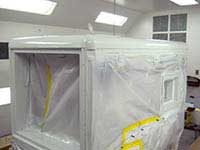
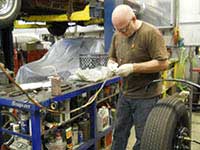
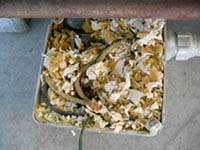
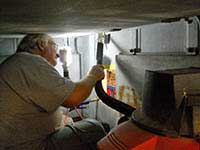
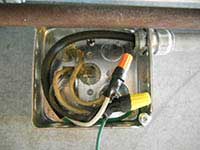
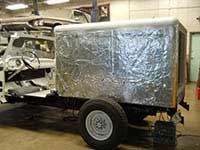
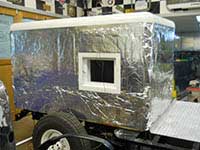
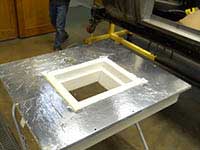
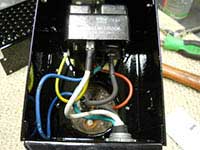
In this group of ten photos the left photo shows Jason installing the freezer to the chassis. The right photo shows Bill wrapping the new wire harness. The third picture below shows evidence of a mouse nest in the freezer electrical junction box. The next photo shows Ray vacuuming and repairing the mouse damage inside the freezer. The fifth and sixth photo show the completed repairs to the electrical box and all new wiring. The last four photos in the group show the freezer wrapped with commercial aluminum foil vapor barrier like the original, damage to the freezer door jamb on the rear panel of the freezer and the body components ready for priming and painting.
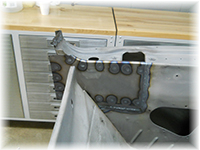
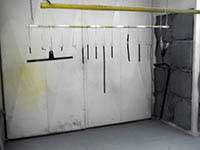
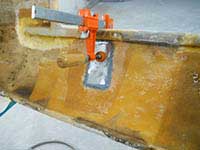
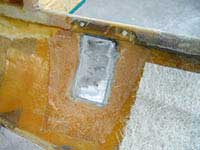
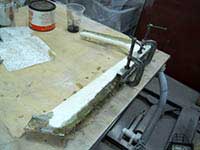
The left and right photo show repairs to the rear panel door jamb. The four photos below show the rear freezer panel plywood coated with epoxy resin and filled with structural repair filler and the rear freezer panel being painted.
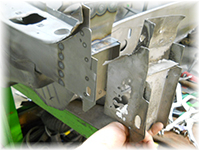
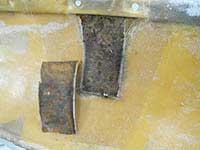
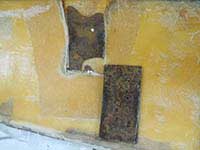
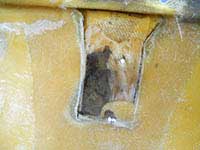
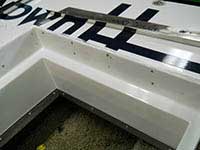
The left photo shows the rear freezer panel foiled. The right photo shows the new aluminum edge trim installed. The four photos below show the rusted mounting plates removed from the header panel above the windshield.
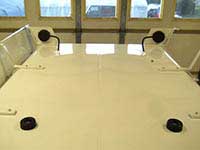
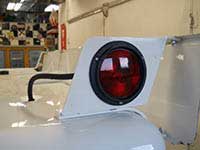
In this group of six photos the left and right photos show the new mounting plates being fabricated and installed in the header. The bottom left photo shows the stainless trim installed to the rear panel. The next photo shows the rear freezer door re-assembled. The next photo shows a view of the freezer roof. The last photo shows the installation of new tail lights.
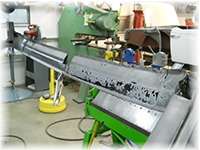
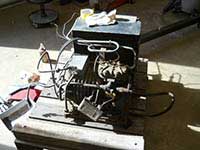
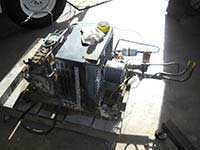
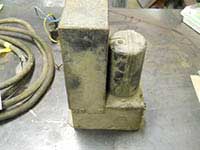
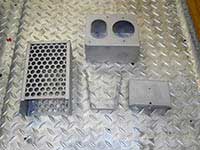
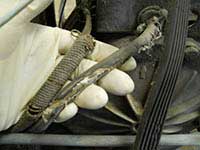
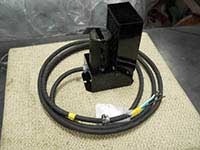
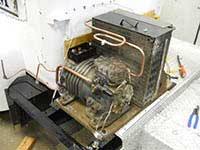
The photos left and right show the refrigeration unit to be restored. The bottom four photos show the restoration of the refrigeration components.
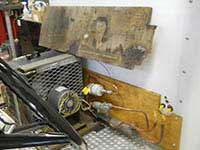
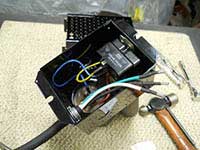
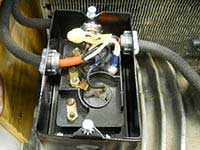
The photo on the left is the refrigeration unit being installed. The right photo shows the new epoxy sealed plywood mounting board installed. The four photos below show re-wiring of the refrigeration components.
The photos left and right show the repairs made to the fiberglass cab components. The four photos below show the beginning of the re-assembly.
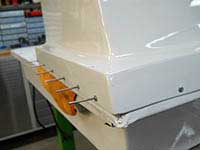
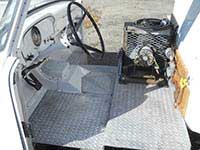
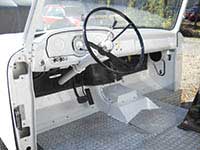
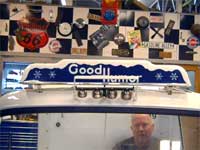
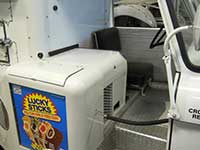
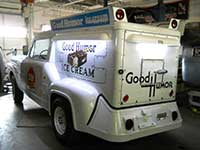
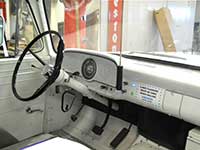
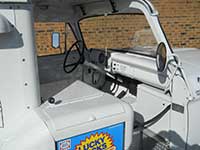
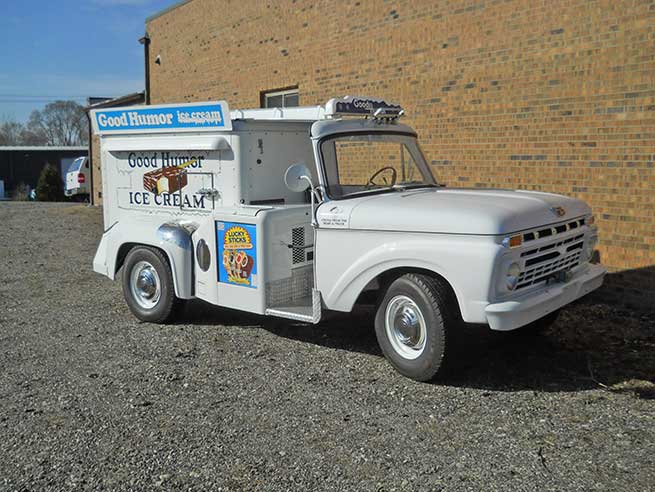
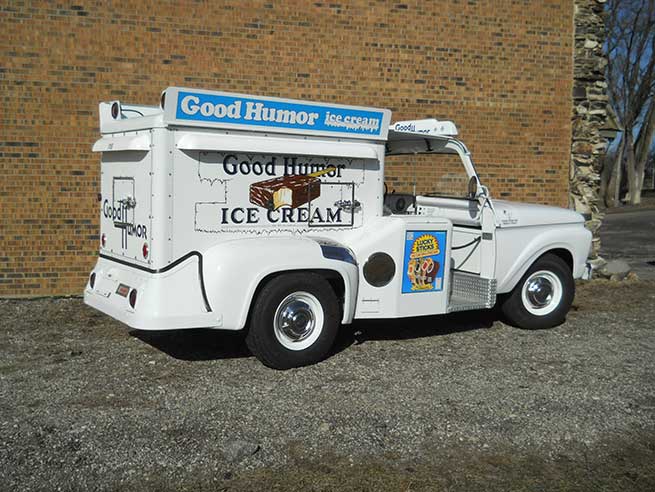
The photos left and right show the installation of the good humor lighted "Glacier" and the classic Good Humor bells. The photo bottom left shows the refrigeration unit and drivers seat. The next photos shows the fluorescent lighting on the exterior of the freezer. The next 2 photos show the view of the dashboard and steering column and the overall view of the drivers compartment. The last 2 photos below those show the truck completely done and ready for pick up.