1911 Alpena |
|||
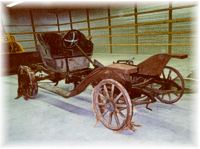 |
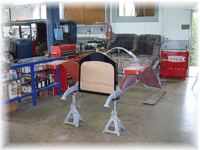
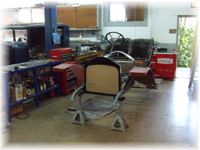
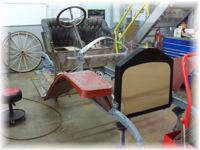
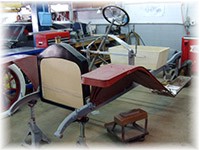
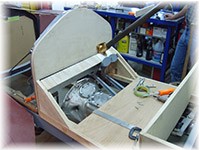
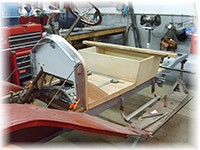
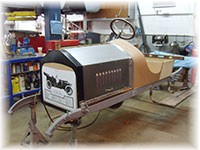
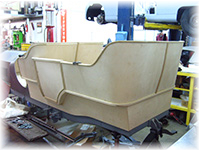
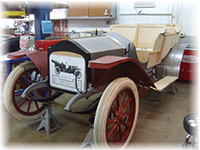
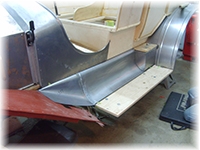
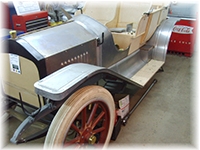
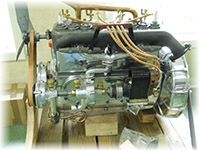
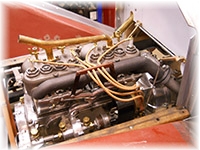
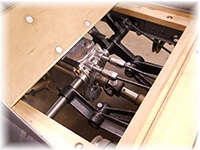
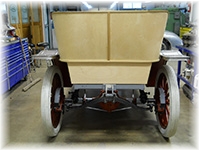
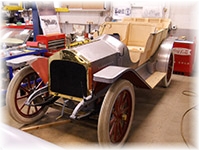
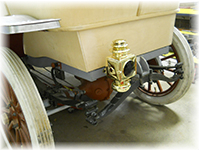
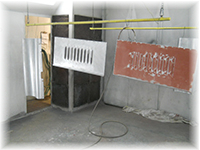
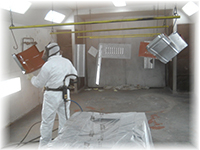
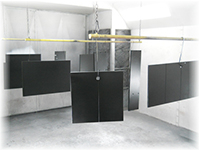
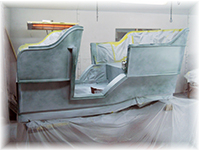
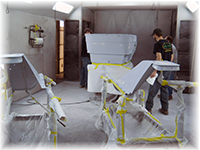
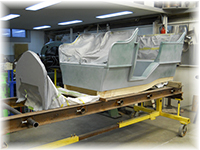
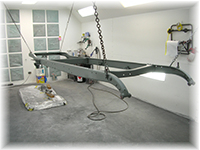
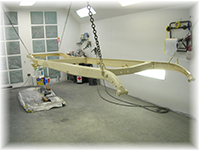
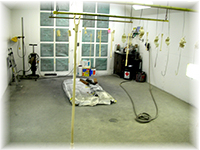
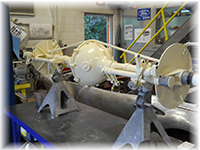
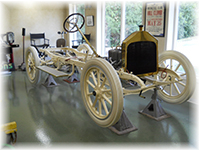
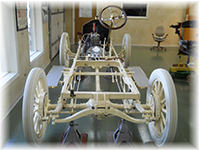
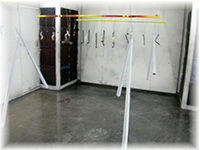
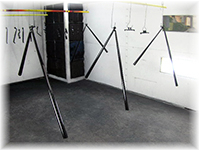
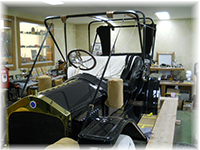
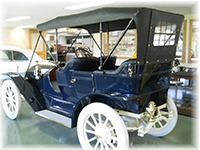
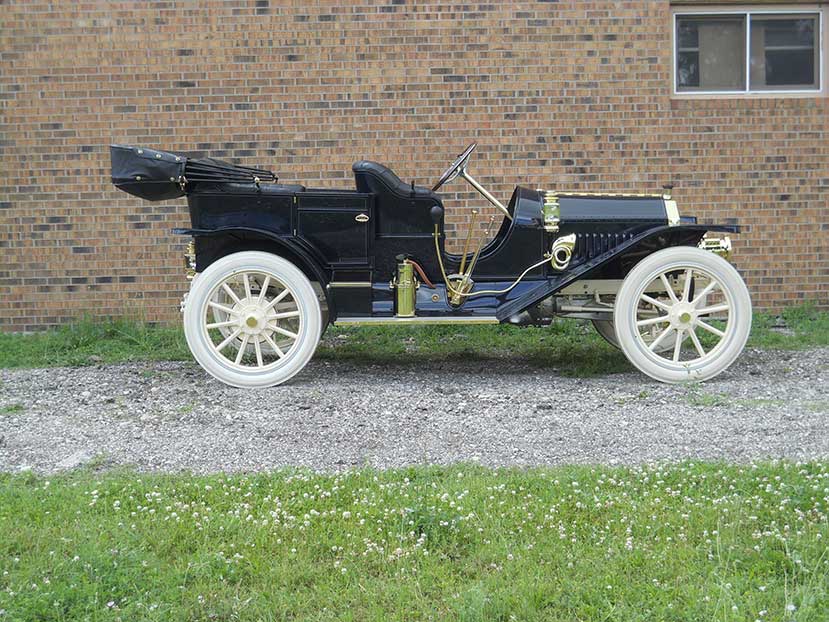
This 1911 Alpena came to us from Ron Winter in Alpena, Michigan. It is the only Alpena in existence. It is a gas powered, 34 horsepowered 3 speed brass era car. The two photos left and right show the car in its original condition. The car was disassembled and the body was mocked up on the chassis to see what is missing or needs fixing. The 4 photos below show this process. | 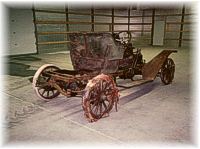 |
|
 |
 |
 |
 |
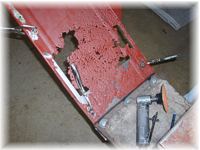 |
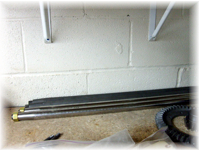
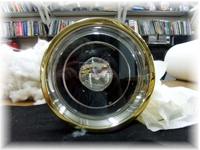
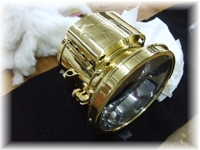
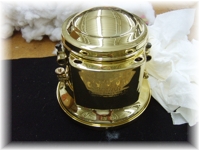
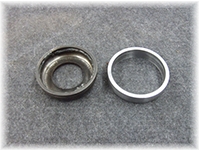
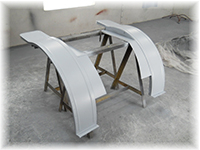
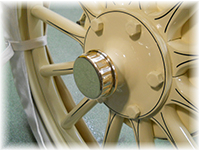
The photo on the left shows the condition of the fenders. The photo on the right is the new differential, ring and pinion gears. The photo bottom left is the differential axles and the last three show the finished headlight reflector. | 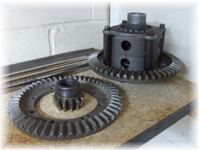 |
|
 |
 |
 |
 |
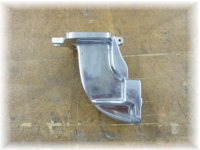 |
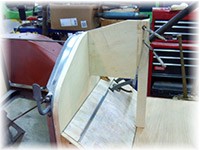
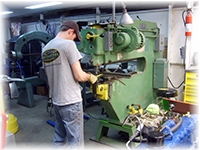
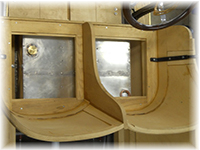
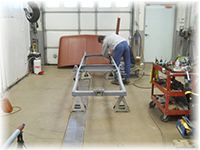
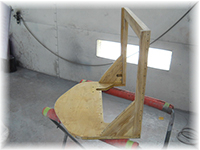
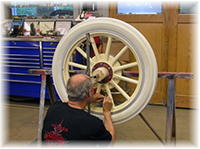
The photo on the left shows the finished magneto mounting bracket. The photo on the right shows the new tires. Below left Ray is checking the proper angle of the new firewall. The next three below show the mocking up of the cowl and floorboards. |  |
|
 |
 |
 |
 |
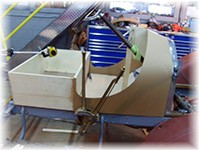 |
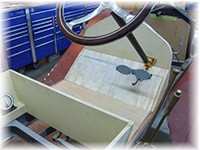
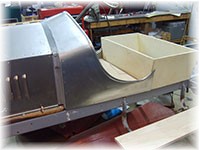
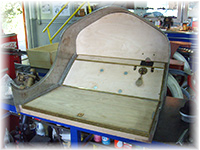
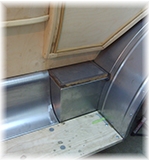
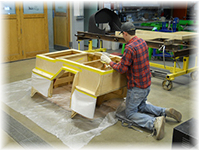
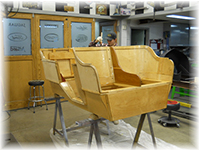
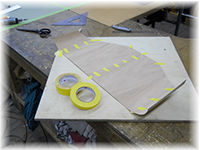
The photos on the left and right also show the mocking up of the cowl and floorboards. The bottom four photos show the cowl and firewall floorboards, the woodwork is done. The cardboard pattern is made for the sheet metal body panel. | 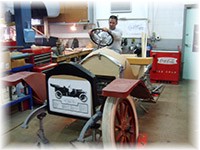 |
|
 |
 |
 |
 |
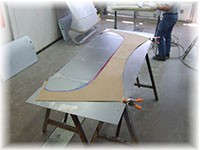 |
The photo on the left shows the cardboard template transferred to the sheet metal and the photo on the right shows the sheet metal cut out and the edge rolled. The bottom left photo shows the sheet metal fitted to the cowl. The next three photos show the gas petal fabricated, the brass flanges formed to finish the brake and clutch petal, and the machined steel brake and clutch petal. | 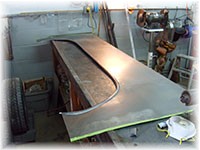 |
|
 |
 |
 |
 |
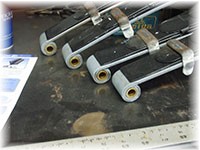 |
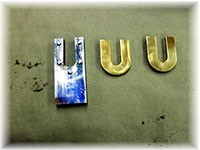
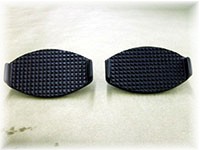
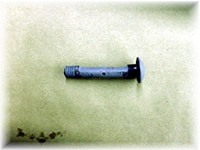
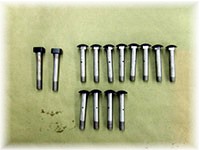
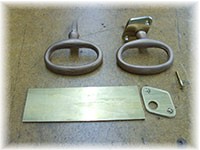
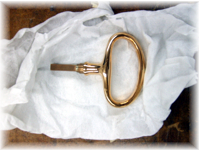
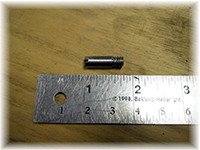
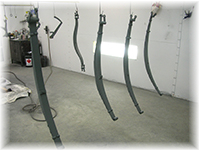
The photo on the left shows new bushings installed in the spring eyes. The photo on the right shows the original spring shackle pin badly worn. The bottom left are the new shackle pins machined. The next photo bottom left is the restoration of the door handles and the restored door handle. The last photo of the group on the bottom right shows the engine control patterns. |
 |
|
 |
 |
 |
 |
 |
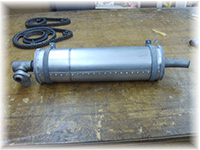
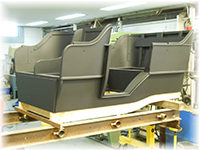
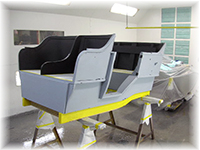
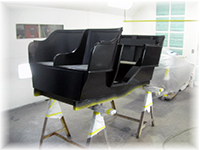
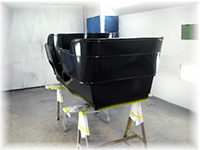
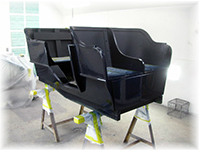
The photo on the top left of this group shows the new cowl. The photo top right and bottom left show the new wooden coach from the front and back. The next photo from the bottom left shows the shift lever springs and the last two photos in the group show a new muffler being built and its completion. | 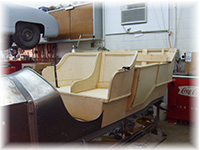 |
|
 |
 |
 |
 |
 |
In this group of photos the top left shows the new transmission. and the top right and the bottom four photos show the fabrication of the fenders from the wood buck to forming the metal to fit the wood buck and mounting the fenders on the rolling chassis. | 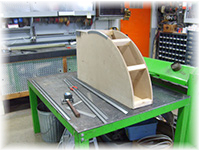 |
|
 |
 |
 |
 |
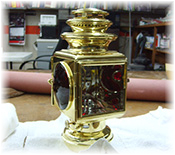 |
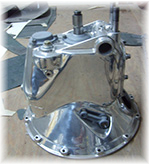
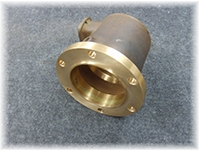
In this group, the photo top left and top right shows the beautifully restored tail light and cowl light. The bottom left photo shows the fabrication of the running board apron and the front fender extension. The next photo shows the new front fenders. The third photo shows the new bronze casting of the rear step plates. The last photo shows the repairs being made to the pinion bearing carrier. | 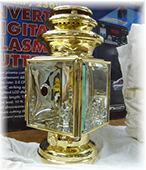 |
|
 |
 |
 |
 |
|
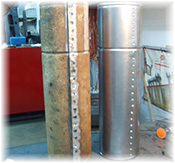
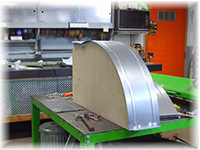
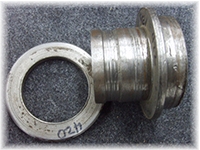
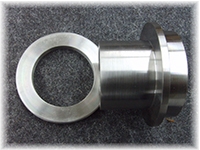
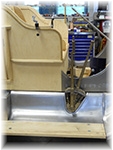
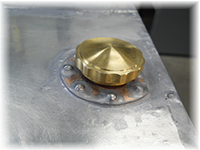
The top left photo in this group of 6 photos shows the finish machining done to the pinion bearing carrier casting. The top right photo shows the duplication of the damaged pinion bearing adjusting sleeve. The bottom left photo shows the differential gear carrier bearing adaptor. The next photo shows the damaged bearing collar for the differential and the third photo shows the new bearing collar for the differential. The last photo bottom right shows the components for the gas tank being formed on the Pullmax. | 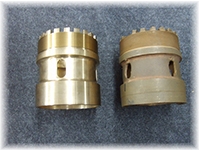 |
|
 |
 |
 |
 |
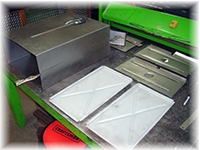 |
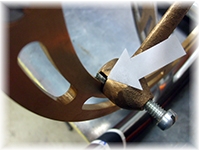
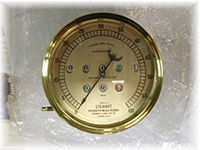
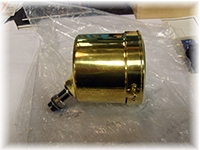
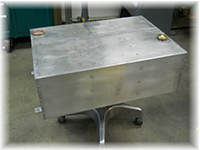
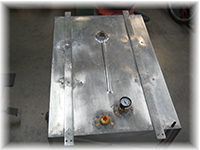
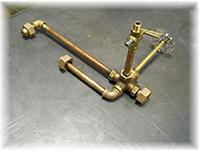
In this group of 6 photos the top left photo shows the gas tank components ready for assembly and the top right photo shows the partially assembled gas tank. The bottom left photo shows the engine control levers at the steering wheel that were reproduced and shown in previous photos and now are cast in brass and finish machined ready for polishing. The next photo from the left shows the spring loaded leather tension shoe at the point of the arrow in the photo and is common on both engine control levers. The last 2 photos in this group show the face and side view of the restored speedometer. | 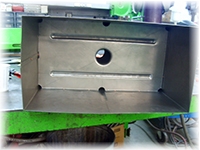 |
|
 |
 |
 |
 |
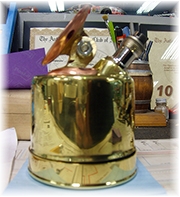 |
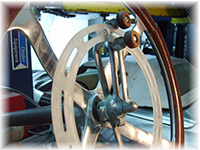
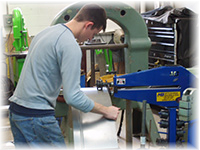
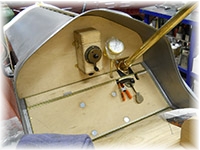
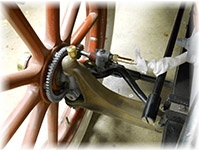
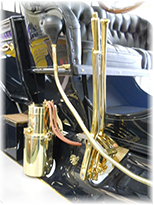
The photo on the left shows the swivel mount for the speedometer, ready to be polished. The photo on the right shows the engine control levers at the steering wheel all polished. The bottom left photo shows test fitting of the side lamps and horn and the next photo to the right of that shows the installation of the speedometer and ignition coil box to the firewall. The third photo from the bottom left shows a close up view of how the speedometer is driven off of the right front wheel. The last photo bottom right shows the rebuilt engine being prepared for installation. | 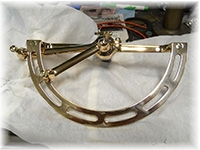 |
|
 |
 |
 |
 |
 |
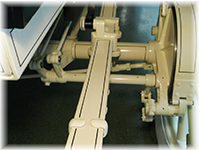
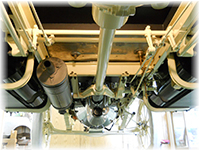
The photos left and right show the engine on the chassis and the new fan on the engine. The photos from left to right below show a view of the transmission through the floorboards, the rear of the car and the third photo is a view of the right side splash apron detail around the gear shift/emergency brake mechanism. The last photo bottom right shows the hood installed and properly gapped and the car on it's wheels for the first time since who knows when. | .jpg) |
|
 |
 |
 |
 |
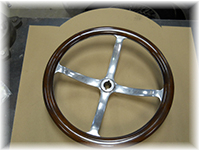 |
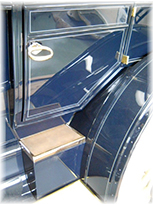
In this group of 6 photos the top left shows the restored steering wheel and the top right shows the engine controls installed on the steering wheel. The next 3 photos on the bottom show the new gas tank fabricated in our sheet metal department. The last photo shows the gas tank installed under the front seat. It holds 20 gallons of gas with a 5 gallon reserve. |  |
|
 |
 |
 |
 |
 |
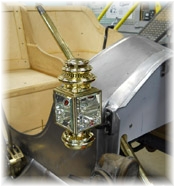
In this group of photos the top left shows a view of the side lamps, and bright work. The top right photo shows the restored headlamp being test fitted. The bottom left 2 photos show the 1/8" brass pipe plumbing for the fuel reserve/main valve. The last 2 photos show the new pivot pin machined for the gas petal. | 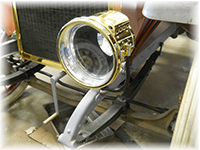 |
|
 |
 |
 |
 |
 |
The photo on the left shows the tail light mounted to the chassis. The photo on the right shows the Alpena ready to road test. Below is a video of the Alpena's first road test. You must have QuickTime on your computer in order to play the video. It is a safe free download for Windows or Macintosh. To view the video, click the forward arrow on the bottom left below. | 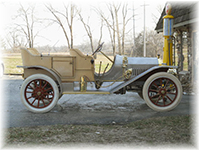 |
|
 |
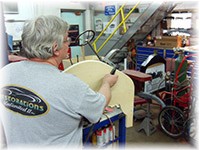
This group of 6 photos shows fitting of the top bows to the body, Joe metal finishing the front fenders, the hood sides being primed, Ralph priming various body parts, Joe disassembling the chassis preparing to be primed and the rear fenders primed and ready for block sanding. |  |
|
 |
 |
 |
 |
 |
This group of 6 photos shows the differential sanded, awaiting painting, Chris epoxy resin coating the wood body components, The cowl section already epoxy coated, Chris epoxy coating the underside of the body, the body completely coated in epoxy resin and the floor & running boards primed and painted. | 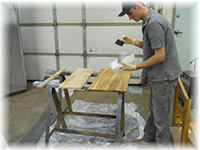 |
|
 |
 |
 |
 |
 |
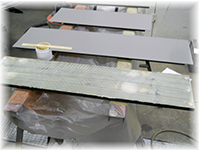
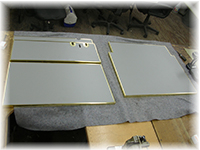
This group of 6 photos shows the mahogany veneer for the firewall being book matched, the mahogany veneer installed on the cowl/firewall, the body in epoxy sealer, the body in primer surfacer ready to be block sanded and the body & fenders being block sanded. The last photo in this group shows the body re-coated with primer/surfacer and ready for the final sanding before the application of color. | 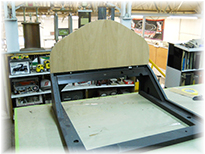 |
|
 |
 |
 |
 |
 |
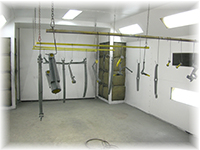
This group of 6 photos shows the differential housing ready to be sealed and painted, the chassis being sanded to remove imperfections, the chassis hung and ready for painting, the chassis painted and the chassis components to be primed and painted. | 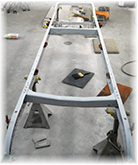 |
|
 |
 |
 |
 |
 |
In this group of photos the top left shows the chassis components painted. The right photo shows the beginning of the chassis assembly. The bottom photos from the left show the engine installed in the chassis and the painted differential. The next 2 photos show the painted chassis in the last stages of assembly. | 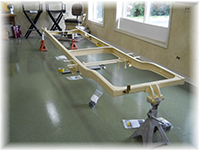 |
|
 |
 |
 |
 |
 |
The photo on the left shows the wheels being pinstriped. The photo to the right and below left show 2 views of the chassis being assembled. The next 3 photos below show the pinstriped wheel, the stencil duplicated on the bottom of the crankcase and battleship gray linoleum applied to the running boards and floor boards. |  |
|
 |
 |
 |
 |
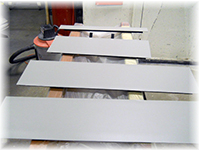 |
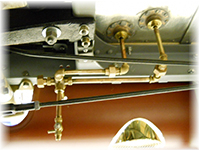
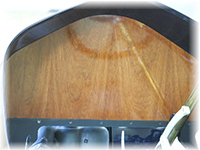
The photos left and right also show the battleship gray linoleum applied to the floor and running boards. The next 2 photos from the left below show the polished brass trim installed on the floor and running boards. The next photo is the cowl section painted and ready for assembly. The last photo shows the mahogany book matched firewall finished and sealed with multiple layers of clear lacquer to produce the mirror finish. You can see the reflection of the steering wheel. | 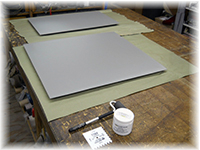 |
|
 |
 |
 |
 |
 |
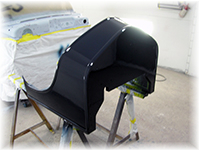
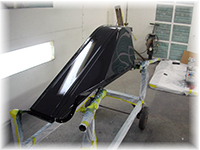
The left photo shows the cloisonné medallion installed on the brass radiator. The photo to the right is the running board aprons being painted. Below left is the body ready for epoxy sealer. and the last 3 photos show the body being painted and sealed. | 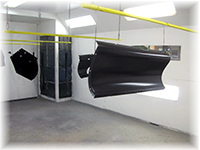 |
|
 |
 |
 |
 |
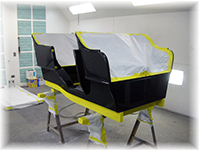 |
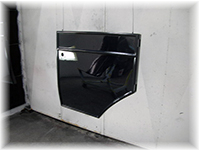
The photos left and right show the body masked off in preparation for the final clear coating and the front fenders and doors being painted. The next 2 photos below left show the door and fenders being clear coated. The next 2 photos below show the top bow sockets primed and the bow sockets being painted. |  |
|
 |
 |
 |
 |
 |
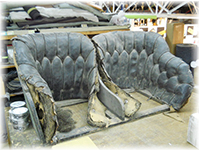
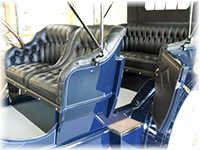
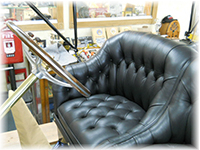
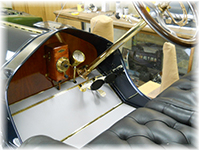
The photo left shows Ray hand shaping the wooden top bows using a spoke shave. The right photo shows the top bows being fitted for the convertible top.The four photos below left to right show the original seats, the new upholstery for the back seats, thenew front seats and the finished dash. |  |
|
 |
 |
 |
 |
 |
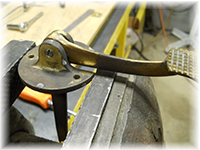
This next group of 6 photos from top left to bottom right shows the top bows being set, the top creation applied to the bows and the top done. The next photo shows the top when it is down and the last photo shows the completed gear lever. | 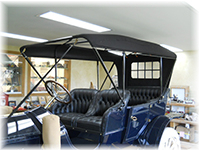 |
|
 |
 |
 |
 |
 |
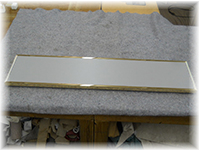
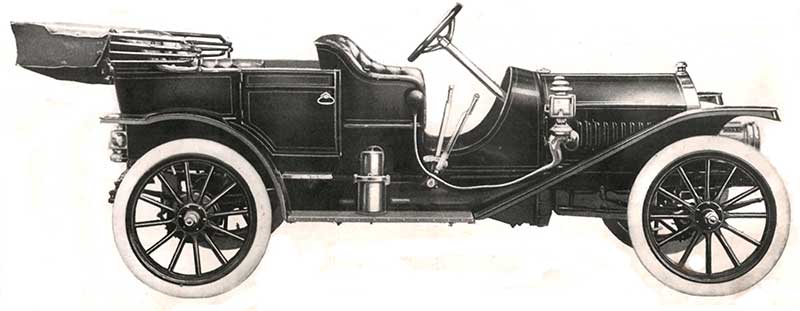
The photo on the left shows the rear fender reflection and the photo on the right shows the finished and mounted tail light. The bottom left 2 photos show the pinstriping done and the belly of the Alpena. The last 2 photos in this group shows our efforts at trying to duplicate an advertising photograph into a poster from MotorAge publication. | 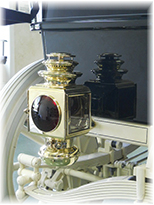 |
|
 |
 |
 |
 |
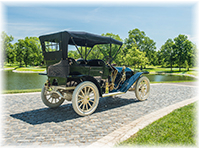 |
The last 2 photos show the Alpena completed and ready for show. | 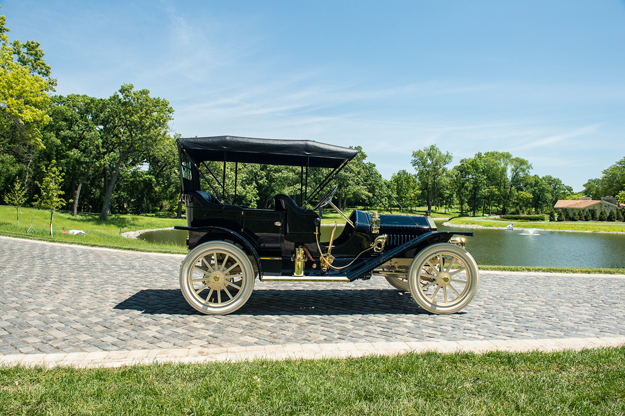 |
|
| Back | |||
| ©All Rights Reserved Restorations Unlimited II, Inc. 2007 | |||